A fresh coat of paint can make a room feel cleaner, brighter, and more current. Before the first brushstroke goes on, though, the prep work is important. Taking time to clean, repair, and protect the space helps your paint go on more evenly and hold up better over time. Even a small weekend project will usually turn out better when the surface is properly prepared.
Step 1: Get the Room Ready
Start by clearing as much of the room as you can. Move furniture out of the way, or group it in the center and cover it well. Take down wall art, remove outlet and switch plates, and set aside anything else that could get in the way.
If you are working near outlets or switches, turn off the power first. Cover the floors with sturdy drop cloths, and keep screws, plates, and small hardware together in labeled bags so reassembly is easier once you’re done.
Step 2: Clean the Surfaces
Walls, trim, and baseboards can collect a surprising amount of dust, grease, and everyday buildup. Paint sticks better to a clean surface, so this step isn’t something you should skip.
Vacuum first if needed, especially along baseboards and corners. Then wipe down the walls with a damp cloth or a gentle cleaning solution. Kitchens, bathrooms, and other high-use areas may need a little extra attention. Once everything is cleaned, let the surfaces dry fully before moving on.
Step 3: Patch Holes and Repair Problem Areas
Take a close look at the walls before opening the paint can. Small nail holes, hairline cracks, peeling spots, and dents can all show through a new coat of paint if they aren’t addressed.
Scrape away any loose or flaking paint with a putty knife. Fill holes and minor cracks with spackling or joint compound, then allow it to dry completely. For larger repairs, a bit more patching work may be needed. Once dry, sand the area until it feels smooth and level with the surrounding surface.
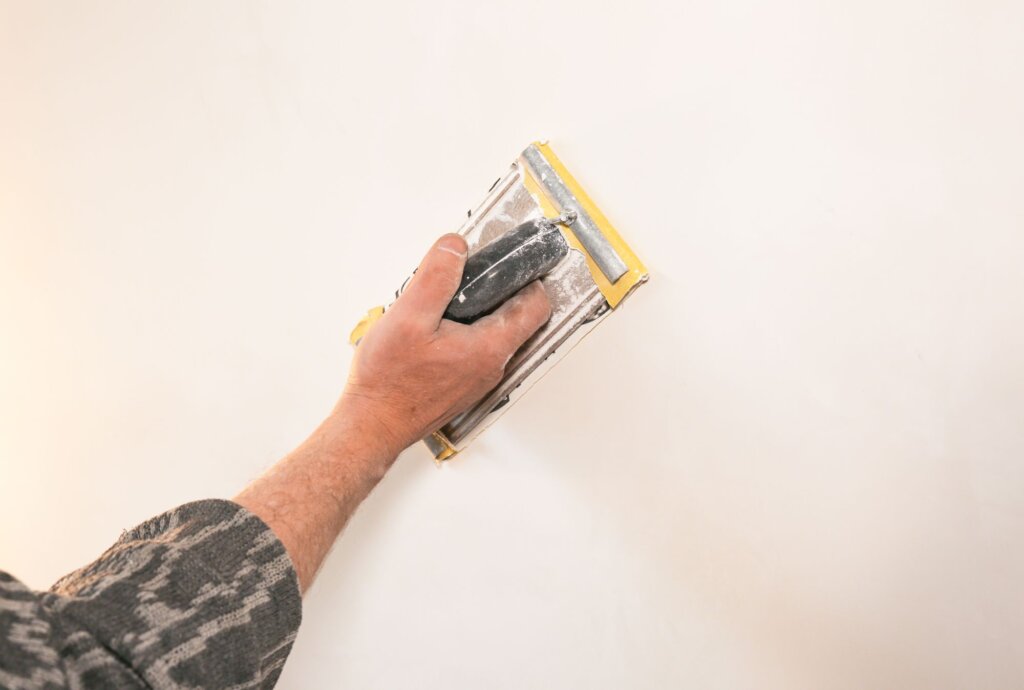
Step 4: Sand for a Better Finish
Sanding helps create a more even surface and improves paint adhesion, especially on glossy trim, patched areas, or previously painted walls with a bit of sheen.
Use a fine-grit sanding block or pad and go over the surface lightly. You do not need to overdo it. The goal is to smooth rough spots and dull slick areas so the new paint has a better surface to grip. When you are done, vacuum and/or wipe away all dust with a clean cloth.
Step 5: Tape and Protect the Details
Once the surface is ready, protect the areas you do not want painted. Apply painter’s tape along trim, ceilings, windows, and other edges that need a clean line. Press the tape down firmly so paint is less likely to seep underneath.
Keep drop cloths or protective coverings in place for floors, furniture, and nearby surfaces. This extra protection can help a lot when it comes to cleanup.
Step 6: Prime Where It Counts
Primer can make a big difference in how the finished paint looks and how well it lasts. It is especially helpful over repaired areas, bare drywall, stained surfaces, raw wood, or dramatic color changes.
Using the right primer can assist with color consistency and reduce the chance of uneven coverage. In some situations, a tinted primer can also make the final color easier to achieve in fewer coats.
A Few Painter Tips That Make the Job Go More Smoothly
- If you are using more than one can of the same paint color, mix them together in a larger bucket first. This is ]called “boxing paint,” and it helps keep the color and sheen consistent across the room.
- Give each coat enough time to dry before adding the next one. Rushing this step can lead to streaks, texture problems, or visible brush marks.
- Try to work in manageable sections and keep a wet edge as you go. This reduces lap marks and gives the finished wall a more even appearance.
A Little Prep Goes a Long Way
Good results usually start long before the painting starts. Cleaning the walls, making repairs, sanding rough spots, priming where needed, and protecting the room all help the finish look better and last longer.
For bigger projects or surfaces that need extra attention, a local painting professional or paint supplier can help you choose the right products and prep methods for the job. That kind of guidance can save time, avoid frustration, and help you get results you will feel good about every time you walk into the room.