You might not think about washing machine maintenance very often, but washing machines are one of the most-used appliances in your home. Even though you run detergent through it regularly, that soap residue can build up (in addition to dirt and other gross things) and make your machine less efficient. To keep it running smoothly, you’ll need to clean your washing machine regularly. Let’s go over how often you should do this and how to clean the parts that need attention.
How to Tell it’s Time to Clean
There are two main ways to tell it’s time to clean your washing machine: by looking at the amount of grime or soap residue built up on your machine, and by noticing your clothes are not getting as clean as they used to. However, it is usually best not to wait until you notice a problem with your washer—instead, think of cleaning your washing machine regularly as a preventative practice. A good rule of thumb is to go through your cleaning routine every month.
If you are noticing other problems like your washing machine taking longer to fill up (or not filling at all), you’ll want to contact your local appliance maintenance company.

Step 1: Scrubbing
The first step to cleaning your washing machine is pre-scrubbing. To do this, you’ll need a wet rag and an old toothbrush. Start by wiping down or scrubbing any soap or detergent dispensers and around the door hinges. An old toothbrush dipped in water or white vinegar can be really helpful to get into those hard-to-reach crevices. If you own a front-loader, be sure to clean around the rubber seal on the door where dirt and grime can easily get stuck and start to smell.
Step 2: Cleaning the Drum
Top-loading and front-loading washing machines have slightly different instructions for cleaning the drum.
For a top-loader, let the empty washing machine fill with hot water as if you were about to run a load, and then add one quart of bleach. Bleach is great for attacking any mold or mildew build-up in your washing machine, but remember to NEVER mix bleach with other cleaners. Let the washing machine run for about 45 seconds to a minute to mix the bleach and water together, and then open the lid and let the mixture sit for 30-45 minutes to sanitize the drum. Once this time is up, close the lid and let the cycle finish as usual to drain the bleach. Then, repeat this process with white vinegar to further clean your washer and help it smell fresh. Because all of the bleach has been drained, the bleach and vinegar will not mix.
For a front-loader, the two-step process is essentially the same, except you will use 2 cups instead of one quart. Because of the way a front-loader fills with water, you will only need half the amount. This may go without saying, but you will also need to keep the door shut while you let each solution sit for 30-45 minutes.
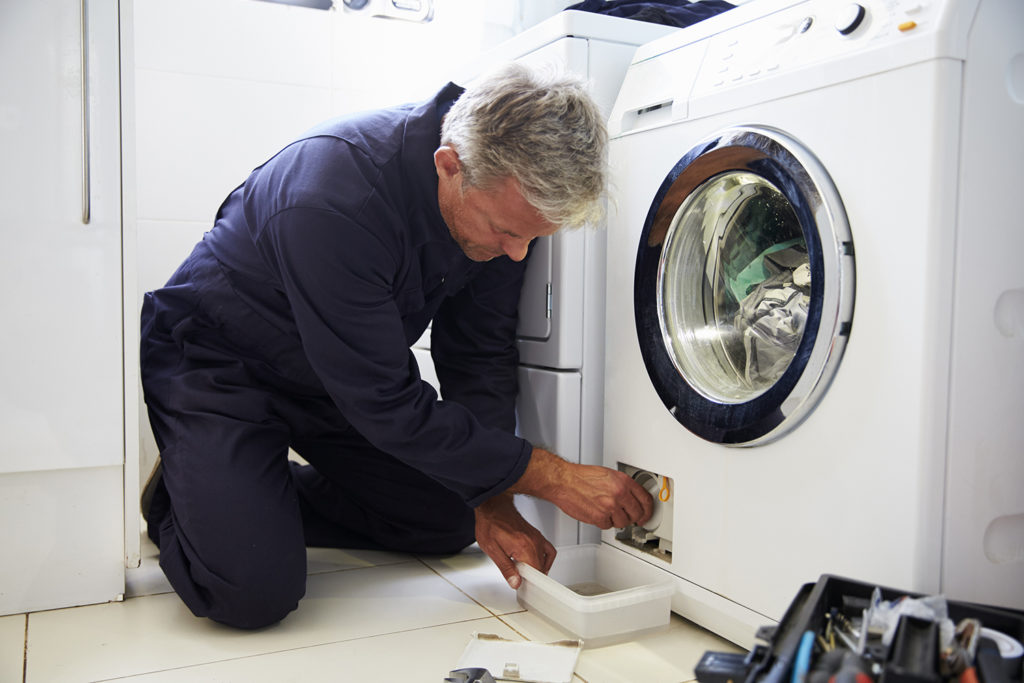
Once the second cycle has completed and the vinegar/water mixture has drained, wipe down any remaining surfaces or run a rinse cycle if you want to reduce the vinegar smell. You may also want to check and clean any filters or drains to ensure your washing machine is cleaning your clothes as well as possible.
Step 3: Prevention is Key
While you now know how to clean your washing machine, it’s good practice to do as much as you can to prevent your machine from needing to be deep-cleaned! For example, remove wet clothes immediately after running a load to prevent mildew, and keep the door or lid open between loads for the same reason. Keeping the door or lid shut when the washer is not being used can trap moisture inside, making the perfect environment for mold to grow. Also, some newer washing machines have designated “cleaning” or “sanitizing” cycles that you can use to keep your machine running efficiently.
If you want your washing machine to continue running smoothly for years, invest some time every month to give it a little extra TLC. Do you already wash your washing machine regularly, or did you learn something new today?