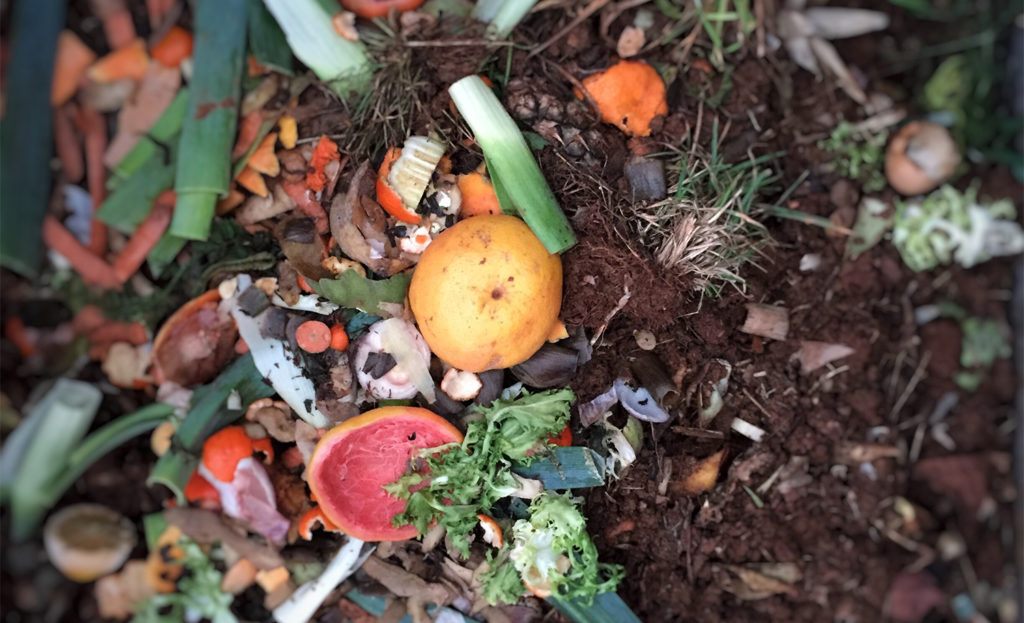
When you compost your food scraps or yard debris, you can feel good knowing that you are recycling your food waste and providing rich nutrients for plants and soil. Even if you don’t use your compost in a garden, composting now can help reduce methane emissions from organic waste in landfills. Composting is one small way to care for the environment while helping your garden grow! Let’s get into more about how (and why) you should start composting.
What is Composting?
Composting is the natural process of decomposition that occurs when organic matter, such as compostable kitchen scraps or leaves and grass clippings, are broken down in a controlled environment such as a compost pile, tumbler, or bin. The compost can be used to enrich the soil in your garden, which lessens the need for other fertilizers and helps reduce the amount of compostable waste going into landfills.
The composting process requires three things: “greens,” “browns,” and water. Compost “greens” include things like lawn clippings or fresh plant matter, fruit and vegetable peels, coffee grounds, and finely-ground eggshells. Compost “browns” include dry leaves, straw, and twigs. The greens produce nitrogen and the browns produce carbon, which work together with water to break down your compost.

How To Start Composting
Before you start composting, decide where you want your compost pile or bin to be located. Many compost bins and piles are located outside due to the amount of space, but if you live in an urban area with no outdoor area, you might try a countertop compost tumbler. If your compost bin will be outside, be sure to buy or make a bin that is critter-proof.
The next step is to prepare your compost area. If you are composting outside, find a spot on bare dirt if possible, so worms can help aerate your compost pile. You’ll want to start off your pile by adding some twigs for drainage, and then begin alternating your greens and browns in layers. Dampen your compost slightly with some water and then cover with a lid or tarp to retain the moisture and heat. Keep in mind that DIY outdoor composts will need to be turned with a pitchfork or shovel every 1-2 weeks to aerate the pile and aid in the composting process. If you would rather do less manual turning, consider investing in a compost tumbler.
If you are composting indoors in your kitchen counter composter, that process is much simpler! You can just add food scraps to it directly from your cutting board and layer in browns as you go. Because this bin will likely be smaller than one outside and have no access to natural aerators like worms, you will need to intentionally create drainage and aeration.
After some time and patience, you will have ready-to-use compost! You can use your compost in your yard or garden, in your planters, or drop it off at your local community garden.
What Not To Compost
While there are plenty of things you can throw into your compost pile, there are a few things you should never compost, such as:
- Meat and fish scraps
- Oils and fats
- Chemically-treated yard or food waste
- Bones
- Dairy products
- Pet waste
- Twigs or leaves from black walnut trees
Trying to compost certain things—such as dairy products or bones—may cause odor problems or attract unwanted pests to your compost pile. Others—like pet waste and chemically-treated food or yard scraps—may introduce harmful bacteria or parasites that could stop the composting process or cause you harm.
It’s best to follow safe composting practices so you end up with healthy, rich compost. If you would like to learn more about the ins-and-outs of composting, get in touch with your local nursery or community garden.